Summary
Ultrasound machine repair starts with identifying the problem, checking basic external issues, and knowing when professional service is required. Probes, cables, power supplies, software, screens, batteries, and internal boards can all cause faults, but internal repairs should be handled by trained ultrasound technicians.
Introduction
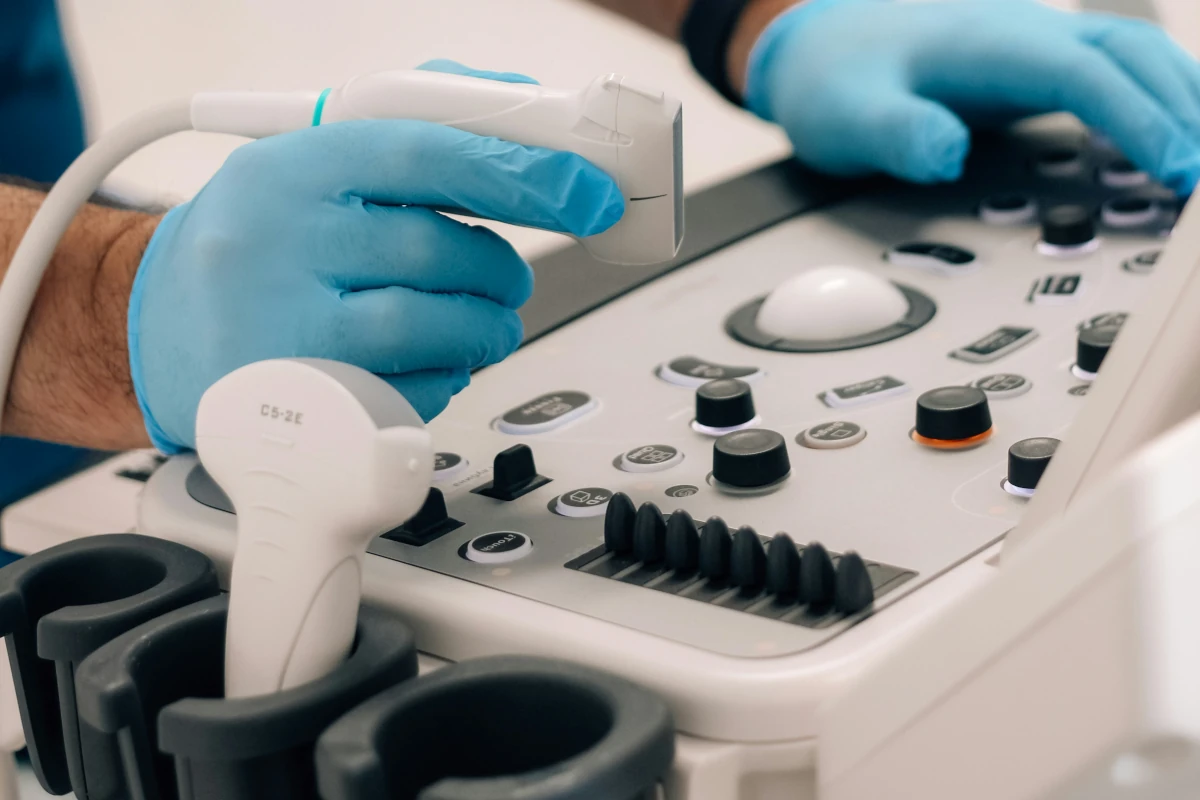
Ultrasound machines are complex medical imaging systems, not ordinary electronics. They include sensitive probes, imaging software, power components, displays, control panels, circuit boards, cooling systems, batteries, and other important ultrasound machine parts.
This guide covers the basics of recognising ultrasound machine problems, simple checks a clinic can perform, and when the equipment should be sent for professional repair. It is not a guide to opening the machine, bypassing safety systems, or attempting internal repairs without training.
Medical device servicing is generally intended to return equipment to the safety and performance specifications established by the original manufacturer. The FDA also distinguishes normal servicing from remanufacturing, which can involve more significant changes to a device and is treated differently from routine repair or maintenance.
First: Is It a Machine Problem or a Probe Problem?
Many ultrasound “machine” faults are actually probe-related. Poor image quality, dropouts, lines on the image, weak Doppler, or intermittent connection may come from the transducer rather than the main system.
Common probe-related issues include damaged cables, cracked probe housing, worn lens surfaces, connector damage, dead elements, image dropout, fluid ingress, and Doppler performance issues.
Before assuming the main ultrasound unit is faulty, the probe should be visually inspected and tested on a compatible system where possible. If the same probe causes image problems on more than one machine, the probe may be the issue. If several known working probes fail on the same machine, the main unit or probe port may need professional service.
Basic External Checks Before Calling for Repair
Clinics can safely perform a few basic external checks before sending an ultrasound machine for repair. These checks can help rule out simple connection, setting, or power issues.
Check that the power cable is connected properly, try a known working wall outlet, and inspect the charger or power adapter on portable systems. Restart the system safely and confirm that the probe is fully seated in the correct port. If another compatible probe is available, test it to see whether the fault follows the probe or stays with the machine.
Also check brightness, gain, depth, and preset settings. Sometimes poor image quality is caused by incorrect settings rather than hardware failure. Look for visible damage to cables, connectors, the screen, control panel, wheels, probe ports, or battery compartment. Make sure the system is not overheating and that vents are not blocked by dust or debris.
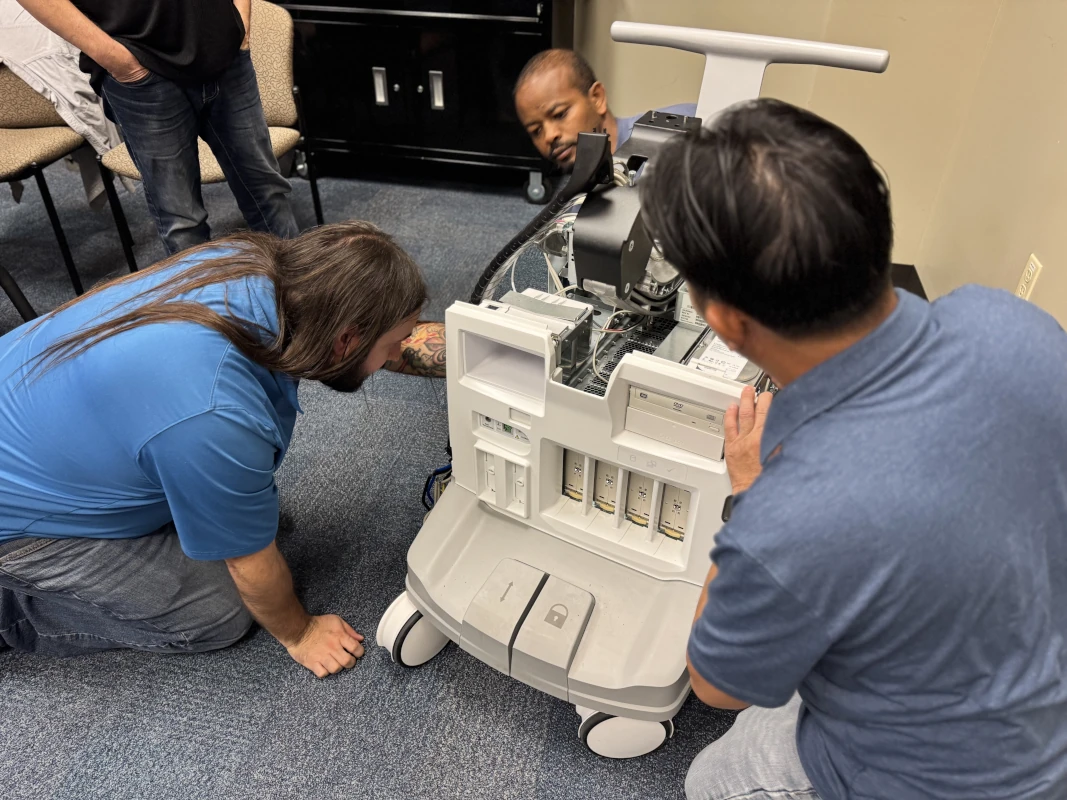
Do not open the machine, remove internal covers, bypass safety features, or attempt board-level repair unless you are trained and authorised to service ultrasound equipment.
Common Ultrasound Machine Problems
The Machine Will Not Power On
If an ultrasound machine will not power on, possible causes include a faulty power cord, failed power supply, battery failure, internal board issue, damaged power button, or loose connector.
For portable systems, the issue may involve the charger, battery, charging circuit, or power adapter. For cart-based systems, the problem may be related to internal power components or system boards. A trained technician may need to test the power supply and internal components safely.
The Image Looks Poor or Grainy
Poor or grainy image quality can come from the wrong preset, incorrect gain or depth settings, probe damage, cable issues, an ageing transducer, software faults, internal processing issues, or monitor problems.
The best first step is to test with a known working probe if one is available. If image quality improves with another probe, the original transducer may need repair or replacement. If the issue continues across multiple probes, the system may need professional diagnostic testing.
The System Freezes or Runs Slowly
A freezing or slow ultrasound system may have software corruption, storage problems, overheating, ageing hardware, faulty internal components, or network and DICOM issues.
This type of fault can interrupt clinic workflow, especially when the machine is used for scheduled imaging, emergency checks, or mobile appointments. Restarting may temporarily clear the issue, but repeated freezing should be investigated before it causes downtime during patient care.
The Screen, Keyboard, or Trackball Is Not Working
Physical controls often wear out with daily use. Problems may involve the monitor, touchscreen, keyboard, trackball, buttons, control panel, or internal connection boards.
A sticking trackball, unresponsive key, flickering display, or damaged touchscreen may start as a small inconvenience but can quickly affect scanning speed and accuracy. These parts should be assessed by a technician, especially if the machine is still otherwise useful.
The System Shows Probe or Transducer Errors
Probe or transducer errors may be caused by the probe itself, the connector, software compatibility, or the internal probe port. Clinics should not assume that buying a new probe will automatically fix the problem until the system has been tested.
A technician may need to check whether the fault is coming from the transducer, the port, the system software, or the internal electronics that communicate with the probe.
When to Stop Using the Ultrasound Machine
An ultrasound machine should be removed from use and checked by a professional if there are signs of burning smell, sparks, unusual electrical noise, repeated shutdowns, overheating, cracked probe housing, exposed wires, fluid damage, major image artifacts, system warnings that do not clear, unreliable measurements, or a damaged power cable or plug.
Ultrasound systems are medical devices used to support clinical decisions, so unreliable equipment can affect patient care. The European Society of Radiology ultrasound subcommittee notes that ultrasound systems contain circuit boards, service diagnostics, and complex operating software, and recommends that only trained personnel service the machines.
What a Professional Ultrasound Repair Technician Checks
A qualified ultrasound repair technician may check the power supply, electrical safety, probe ports, connectors, internal boards, system software, storage, cooling fans, monitor output, keyboard, trackball, control panel, battery, charging system, error logs, and service diagnostics.
They may also test image quality using known working probes. This matters because the goal is not only to make the machine turn on. The system should also produce reliable images, respond correctly, and perform safely after repair.
A proper repair process should include fault identification, repair or replacement of the affected component, testing, documentation, and confirmation that the system is suitable to return to service.
Ultrasound Probe Repair vs Machine Repair
Probe repair and machine repair are different services.
Probe repair may involve cable repair, lens replacement, connector repair, strain relief repair, housing repair, fluid ingress assessment, and image quality testing. Probe problems often show up as lines, dropouts, weak signal, intermittent connection, or poor Doppler performance.
Machine repair may involve power supply issues, software faults, control panel problems, display problems, battery replacement, internal board repair, probe port repair, or cooling problems.
This distinction is important because replacing the wrong part can waste money. A clinic may think it needs a new ultrasound machine when the real issue is a damaged probe. In other cases, a new probe may not solve the problem if the machine’s probe port or internal electronics are faulty.
Preventive Maintenance Can Avoid Bigger Repairs
Many ultrasound repair issues can be reduced with proper maintenance. Clinics should keep vents clean, avoid cable strain, store probes correctly, clean probes according to manufacturer instructions, use approved disinfectants, avoid drops and impact, and schedule routine performance checks.
Portable systems should have battery health checked regularly. Veterinary and mobile systems may need extra attention because they are often moved between rooms, vehicles, barns, farms, and field environments.
Preventive maintenance does not remove the need for repair, but it can reduce downtime, protect probes, and help identify small problems before they become expensive failures.
Repair, Replace, or Buy Refurbished?
Repair is not always the best option. Sometimes replacing the system or buying a refurbished ultrasound machine may make more sense.
Repair may be worthwhile if the system is still supported, parts are available, the machine fits the clinic’s needs, the repair cost is reasonable, and the probes are still in good condition.
Replacement may be better if repairs cost more than the system value, parts are hard to source, the system is outdated, image quality no longer meets clinical needs, or multiple probes and components are failing.
Buyers should compare repair cost, downtime, warranty, probe condition, and the cost of a tested refurbished machine before deciding.
Common Mistakes to Avoid
Avoid opening the machine without training, assuming the probe is fine because it looks clean, ignoring intermittent faults, using damaged probes, buying replacement parts without checking compatibility, choosing the cheapest repair option without warranty, skipping post-repair testing, continuing to use a machine with unreliable image quality, and forgetting preventive maintenance.
These mistakes can lead to higher repair costs, longer downtime, and equipment that still does not perform reliably after service.
What to Ask an Ultrasound Repair Company
Before choosing a repair provider, ask:
- Do you repair this ultrasound brand and model?
- Can you test the machine before quoting?
- Do you also test probes?
- Are replacement parts available?
- Is there a warranty on the repair?
- Will image quality be tested after repair?
- Can you provide a repair report?
- Do you offer preventive maintenance?
- Can you advise whether repair or replacement is better?
A good repair company should help identify the real fault, explain the repair options, and confirm whether the system is worth repairing.
Final Advice
Ultrasound repair should start with safe troubleshooting and proper fault identification. Simple external checks can help rule out power, cable, setting, or connection issues, but internal repairs should be handled by trained service professionals.
The safest approach is to identify the symptom, stop using unsafe equipment, have the system and probes properly tested, and choose repair, replacement, or refurbishment based on reliability, cost, and long-term support.
FAQ
Can I repair an ultrasound machine myself?
You can perform basic external checks, such as checking the power cable, outlet, probe connection, settings, and visible damage. Internal repairs should be handled by trained ultrasound service technicians.
Why is my ultrasound machine not turning on?
Possible causes include a faulty power cable, bad outlet, failed power supply, battery failure, damaged power button, or internal component fault. A technician may need to test the system safely.
Why does my ultrasound image have lines or dropouts?
Lines or dropouts are often caused by probe damage, cable faults, connector problems, dead elements, or internal system issues. Testing with another compatible probe can help identify the source.
Is it better to repair or replace an ultrasound machine?
It depends on the system age, repair cost, parts availability, probe condition, image quality needs, and warranty options. If repairs are expensive or parts are hard to source, replacement or refurbishment may be more practical.
Can ultrasound probes be repaired?
Yes, many ultrasound probes can be repaired depending on the damage. Common repairs include cable, lens, connector, housing, and strain relief work.
When should an ultrasound machine be taken out of service?
Take it out of service if there is overheating, burning smell, electrical damage, repeated shutdowns, fluid damage, exposed wires, cracked probes, or unreliable image quality.
What does an ultrasound repair technician check?
A technician may check the power system, probe ports, internal boards, software, display, controls, batteries, cooling system, error logs, and image quality.
How can clinics reduce ultrasound repair costs?
Clinics can reduce repair costs by handling probes carefully, keeping vents clean, avoiding cable strain, using correct cleaning methods, scheduling preventive maintenance, and addressing small faults early.