Summary
Ultrasound machines are significant investments, and like any precision equipment, they need consistent care to perform at their best. Routine maintenance, cleaning, calibration, environmental control, and scheduled servicing, protects image quality, reduces unexpected breakdowns, and helps you get the full lifespan out of your system.
This guide walks through practical daily, weekly, and long-term maintenance steps that keep your ultrasound reliable and clinic-ready.
Introduction
Ultrasound systems are highly sensitive diagnostic tools. Inside that familiar console are delicate electronic boards, cooling systems, processors, and finely tuned transducer elements. Over time, small issues like dust buildup, dried gel residue, improper shutdown, cable strain, or temperature fluctuations can slowly chip away at performance.
Most major equipment failures don’t happen overnight. They start small, slightly reduced contrast, an occasional lag, a faint line in the image. Without attention, those small problems turn into downtime.
Proactive maintenance protects not just the machine, but also diagnostic confidence and patient safety. Something as simple as a clogged air filter or tightly wrapped cable can shorten the life of a system. The good news? Most of it is preventable.
Let’s break it down into manageable routines.
Why Maintenance Matters
When ultrasound systems are neglected, image quality usually declines gradually before a major failure ever occurs. You might notice subtle contrast loss, intermittent signal dropouts, or slower system response times. These aren’t just technical annoyances, they affect clinical decision-making.
Consistent maintenance helps:
- Extend equipment lifespan
- Preserve consistent image quality
- Reduce unplanned downtime
- Protect your return on investment
- Support a better patient experience
A clean, well-maintained machine also reflects professionalism. Preventive care is almost always less expensive and less stressful than emergency repairs.
Daily Care and Cleaning
Daily habits make the biggest difference over time. These steps should happen after each exam or at the end of every shift.
Inspect and Clean the Transducer
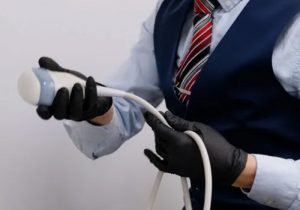
The transducer is the most delicate and most used part of the system. After every exam, wipe it down with manufacturer-approved disinfectant wipes. Take a moment to visually inspect it. Look for cracks, dents, peeling on the acoustic lens, or signs of cable strain.
Avoid abrasive cloths or harsh chemicals unless the manufacturer specifically approves them. Even minor cable damage can affect image quality or pose electrical safety risks, so anything unusual should be reported right away. If you notice signal dropouts, lens damage, or cable wear, professional ultrasound probe repair services can often restore performance and extend the life of the probe without requiring full replacement.
Check Connections and Cables
Before starting a scan, confirm that cables are securely connected and that connectors are clean and dry. Look for fraying, kinks, or cuts along the cable.
When storing probes, coil cables loosely, ideally in a figure-eight pattern, to prevent twisting and internal wire damage. Avoid pulling equipment by the cable or rolling carts over cords. These habits may seem small, but they significantly impact longevity.
Wipe Down the Entire Unit
At the end of each shift, clean the control panel, keyboard, trackball, and monitor. Remove any gel residue from surfaces using non-abrasive, manufacturer-approved solutions.
Dust may not seem like a major threat, but it can infiltrate vents and cooling systems over time. Regular surface cleaning reduces internal wear and keeps airflow unobstructed.
Record Errors and Back Up Data
If the system displays a warning message or behaves unusually, log it. Note the time, what the system was doing, and any corrective action taken. This simple habit helps service technicians identify patterns later.
It’s also important to back up studies regularly. A full storage drive can slow system performance and complicate recovery if a failure occurs.
Proper Power-On and Shutdown
One of the most overlooked maintenance steps is proper shutdown.
Always complete the scan, allow images to save, and use the system’s power button. Wait for the full shutdown sequence before switching off the power strip. Never unplug the unit directly from the wall to power it down.
Improper shutdown is a surprisingly common cause of software corruption and system instability.
Weekly and Monthly Maintenance
Beyond daily care, deeper inspections should happen on a weekly or monthly basis.
Deep Cleaning and Disinfection
Weekly, inspect probe connectors and ports for debris. If components are detachable (and manufacturer-approved for removal), clean them carefully.
For internally used probes, strictly follow high-level disinfection protocols. If the manufacturer advises against alcohol, don’t use it, alcohol can damage the acoustic lens and shorten probe lifespan.
Air Filters and Ventilation
Cooling systems are essential to ultrasound performance. Overheating stresses internal electronics and shortens component life.
Clean or replace air filters regularly, vacuum ventilation grids, and ensure there’s at least 15 cm of clearance around the system for airflow. In humid environments, consider a dehumidifier if humidity rises above 70 percent to prevent condensation inside the unit.
Environmental Control
Ultrasound machines perform best in clean, temperature-stable environments. Avoid placing them near direct sunlight, heating vents, or high-dust areas.
Using a voltage stabilizer or surge protector helps shield sensitive electronics from power fluctuations, especially in facilities with unstable electrical supply.
Calibration and Software Updates
Manufacturers provide recommended calibration schedules for a reason, accurate calibration preserves imaging precision.
Software updates are equally important. Updates may improve image processing, resolve bugs, and strengthen cybersecurity protection. Running outdated software can affect performance and compliance.
Schedule Professional Service
Even with excellent daily care, ultrasound systems need periodic professional servicing.
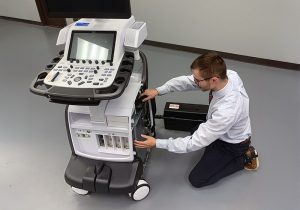
Preventive maintenance visits are typically recommended every 6 to 12 months, depending on usage. High-volume clinics may require more frequent checks. Many facilities rely on structured portable ultrasound depot repair services to perform comprehensive evaluations, internal cleaning, board inspections, and system testing in a controlled environment.
During service, technicians often:
- Inspect internal components
- Clean internal filters
- Test electrical safety
- Verify calibration
- Update firmware
Routine professional maintenance significantly reduces unexpected breakdowns and supports regulatory compliance.
Handling and Storage Best Practices
Good handling habits go a long way toward protecting your investment.
Probe Handling
Always hold probes by the body, not the cable. Store them upright in holders or padded drawers, and avoid dropping them. Even a fall from waist height can damage internal crystals.
Use only neutral-pH ultrasound gel. Gels with incompatible pH levels can degrade the acoustic matching layer over time.
Transporting the System
When moving the machine, secure or remove probes, clear the pathway, and move steadily. Prevent cables from dragging or getting pinched. Always return the probe to its holder before relocation.
Storage Conditions
Store systems in a clean, dry, well-ventilated space with stable temperatures. Protective covers over the control panel and display help reduce dust buildup and protect against accidental spills.
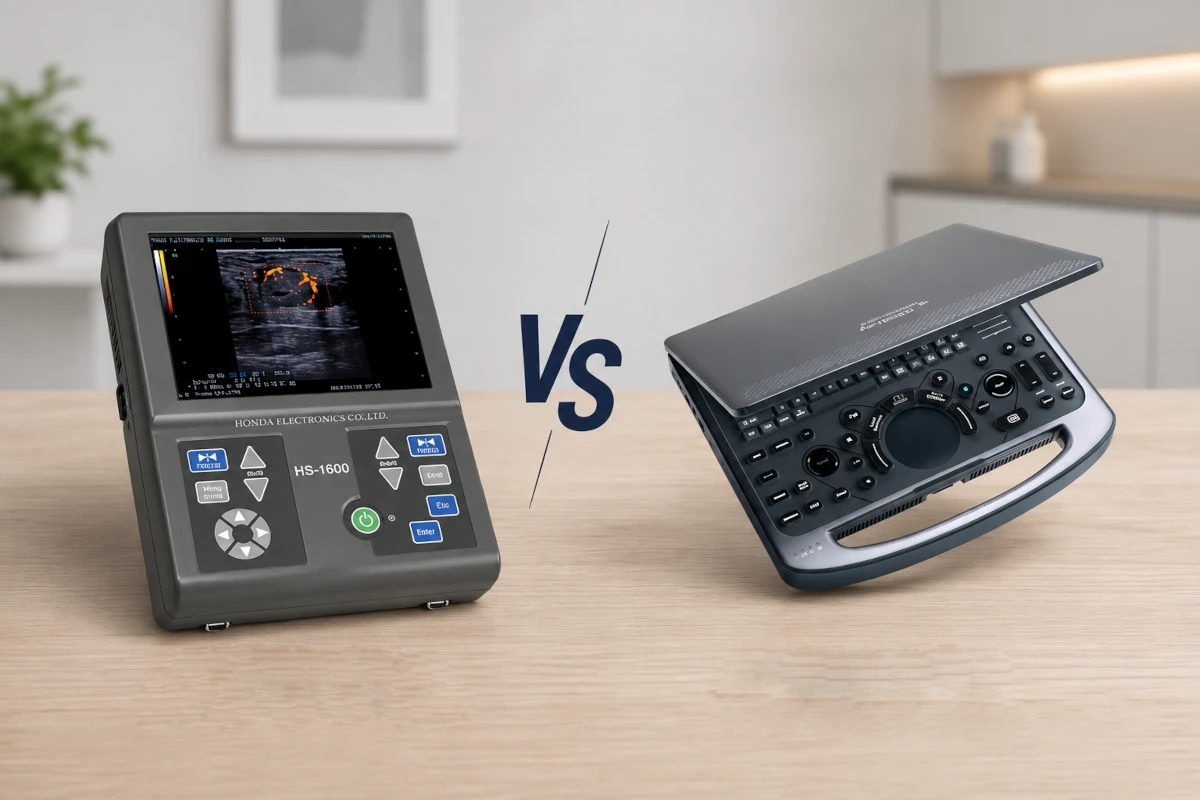
If your facility is evaluating system upgrades or adding additional units to reduce wear on existing equipment, exploring dependable portable platforms like Honda ultrasound systems for sale can be part of a long-term equipment strategy that balances performance with durability.
Staff Training and Maintenance Policies
Maintenance isn’t just about equipment, it’s about people.
All operators should understand proper startup and shutdown procedures, safe probe handling, cable management, and early signs of malfunction. Establishing a written maintenance policy with clearly assigned responsibilities ensures consistency.
Encourage staff to report problems early rather than working around them. A culture of proactive reporting prevents minor issues from becoming major failures.
Use Genuine Accessories and Approved Parts
Using original or manufacturer-approved accessories protects compatibility and often preserves warranty coverage.
Avoid generic gels with incompatible pH levels, non-approved disinfectants, or unverified replacement cables and connectors. Cutting corners on small components can create bigger problems later.
When replacements are needed, work with authorized vendors or certified technicians to protect system integrity.
Conclusion
Extending the lifespan of your ultrasound equipment isn’t complicated, but it does require consistency.
Daily cleaning, careful probe handling, proper shutdown procedures, routine filter maintenance, regular calibration, software updates, and scheduled professional servicing all work together to preserve image quality and system reliability.
Preventive maintenance minimizes downtime, protects your investment, and supports confident clinical decision-making. With a structured maintenance routine and well-trained staff, your ultrasound system can perform reliably for many years.
Frequently Asked Questions (FAQ)
1. How often should I clean my ultrasound machine?
Clean the transducer and wipe surfaces after each use. Perform deeper cleaning weekly.
2. What’s the safest way to disinfect a probe?
Use manufacturer-approved neutral disinfectants and follow probe-specific guidelines carefully.
3. How often should professional maintenance be scheduled?
Most systems benefit from servicing every 6–12 months, depending on usage volume.
4. Why are software updates important?
They improve image processing, fix system bugs, and strengthen cybersecurity protections.
5. What damages ultrasound cables most often?
Pulling on cords, tightly winding them, or rolling equipment over them can break internal wires.
6. When should I replace my ultrasound machine?
If recurring failures continue despite maintenance and repair costs rise significantly, replacement may be more cost-effective than ongoing fixes.