Summary
Ultrasound machines create diagnostic images by moving signals through a coordinated chain of parts, including the transducer, pulser, beam former, receiver, and processor. When you understand what each component does, it becomes much easier to spot performance issues early, plan maintenance, and choose the right replacement parts. This guide breaks down the major ultrasound machine components, how they work together, and what to consider when repairing or replacing them.
Introduction
Diagnostic ultrasound uses high-frequency sound waves to create real-time images of internal anatomy, without ionizing radiation. Because it’s non-invasive, repeatable, and fast, it’s become a core tool in both medical and veterinary imaging.
But the image on the screen is only as good as the hardware behind it. Ultrasound systems depend on multiple components working in tight coordination. If one part starts to drift out of spec, such as a probe, receiver, or processor, image quality can drop and diagnostic confidence can suffer.
Knowing the key ultrasound machine parts isn’t just for engineers. It helps clinicians and technicians operate equipment more effectively, troubleshoot smarter, budget realistically, and stay aligned with manufacturer requirements.
How an Ultrasound System Works
An ultrasound system is a signal-processing chain. Electrical energy is converted into sound, reflected back from tissue, amplified, processed, and displayed as an image. Each component contributes to that workflow.
Key Ultrasound Machine Components
1) Transducer (Probe)
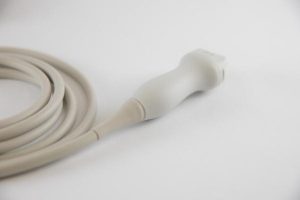
The transducer is the most important part of any ultrasound machine. It contains piezoelectric elements that convert electrical energy into ultrasound waves and convert returning echoes back into electrical signals.
Common probe types and typical use cases:
- Linear probes: high frequency, excellent detail for vascular, MSK, and superficial structures
- Curvilinear (convex) probes: lower frequency, better depth for abdominal and obstetric imaging
- Phased array probes: small footprint, designed for cardiac imaging and tight acoustic windows
A simple rule:
- Higher frequency = better resolution, less depth
- Lower frequency = more depth, less detail
Because probes face constant handling, disinfection exposure, drops, cable strain, and connector wear, they’re often the first component to need repair or replacement. Professional ultrasound probe repair services can restore signal integrity, cable function, and element performance at a fraction of replacement cost. Addressing early warning signs quickly can prevent complete probe failure and unexpected downtime.
Watch for: intermittent dropouts, lines in the image, reduced penetration, cable cracking, connector looseness, overheating, or “dead” elements.
2) Pulser
The pulser generates the high-voltage electrical pulses that excite the transducer elements. In plain terms, it helps determine how “strong” the outgoing ultrasound pulse is.
System settings like output power influence brightness and penetration, but if the pulser is failing you may see:
- weak or inconsistent signals
- uneven brightness
- poor penetration even with appropriate settings
3) Beam Former
The beam former shapes and steers the ultrasound beam by controlling the timing (phasing) of pulses sent to each transducer element. This timing control is what lets the system focus and aim the beam precisely.
Beam forming enables:
- focusing at different depths
- steering and sector control
- dynamic focusing
- improved spatial accuracy and resolution
If beam forming performance degrades, users often notice artifacts, distortion, uneven sector brightness, or “weird geometry” that doesn’t match anatomy.
4) Receiver
The receiver handles returning echoes and amplifies them. Since ultrasound signals weaken as they travel deeper (attenuation), the receiver boosts signals so the image stays readable from near field to far field.
Key controls tied to receiver behavior:
- Gain: overall amplification
- TGC (time-gain compensation): depth-based amplification adjustments
Receiver problems can show up as excessive noise, weak signal, poor contrast, or inconsistent depth performance.
5) Processor
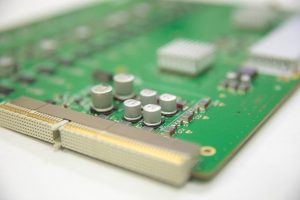
The processor converts echo data into usable images. It typically covers two big jobs:
- Signal processing: turning echo voltages into video-ready information
- Image processing: forming and refining the final 2D image
Common processing features include:
- dynamic range compression
- edge enhancement
- speckle reduction
- harmonic imaging
Higher-end systems often add processing power for Doppler, 3D/4D imaging, elastography, and advanced measurement tools. When processors struggle or fail, symptoms may include slow performance, freezing, crashes, laggy UI, or unstable software behavior.
6) Display and User Interface
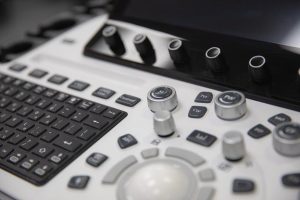
After processing, the image is shown on the display. Screen quality and settings matter more than people realize, especially for grayscale interpretation.
High-wear UI components include:
- keyboards and control panels
- trackballs
- touchscreens
- programmable buttons and knobs
These parts often fail from mechanical wear long before core imaging hardware does, and they’re also some of the most common “small but disruptive” replacements.
7) Data Storage and Peripherals
Most modern systems store images digitally and support workflow integrations. Storage and connectivity may include:
- internal HDDs or SSDs
- USB export
- network connectivity and PACS
- DICOM transfer
Optional peripherals can include thermal printers and additional ports. Even if the imaging chain is healthy, storage or network failures can still interrupt daily workflow.
Why Component Quality and Maintenance Matter
Every subsystem needs to stay within specification to preserve diagnostic reliability. A worn transducer, unstable beam former, or noisy receiver can degrade image quality in ways that are subtle at first and obvious later.
Parts that commonly fail first:
- probes and probe cables
- connectors
- control-panel switches and trackballs
- select circuit boards and power-related components
If you’re considering replacements, quality and compatibility should come first. OEM parts offer the most predictable fit and performance but are usually more expensive.
Certified refurbished parts can be a smart cost-saver when documentation and testing are solid. Re-engineered components may improve durability if the vendor has proven QA and proper verification.
Cheap, unverified aftermarket parts can introduce signal distortion, shorten system lifespan, or create compliance headaches. Documentation matters.
Selecting and Replacing Ultrasound Parts
Smart replacement decisions are based on more than the price of the part. They should reflect system age, clinical needs, downtime risk, and overall service strategy.
Before buying replacement ultrasound parts:
- confirm exact model compatibility (including part numbers and revision differences)
- review service history and recurring failures
- request testing, certification, and return policy documentation
- compare total repair cost versus replacement or upgrade
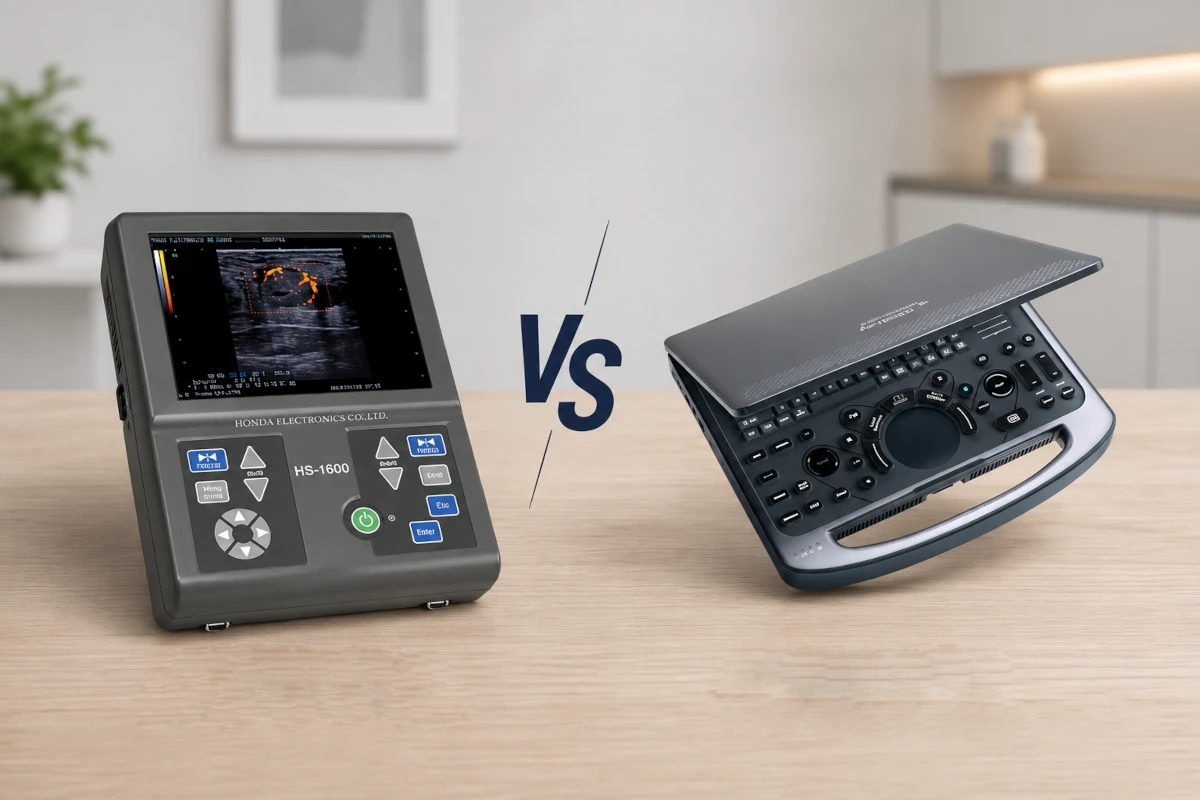
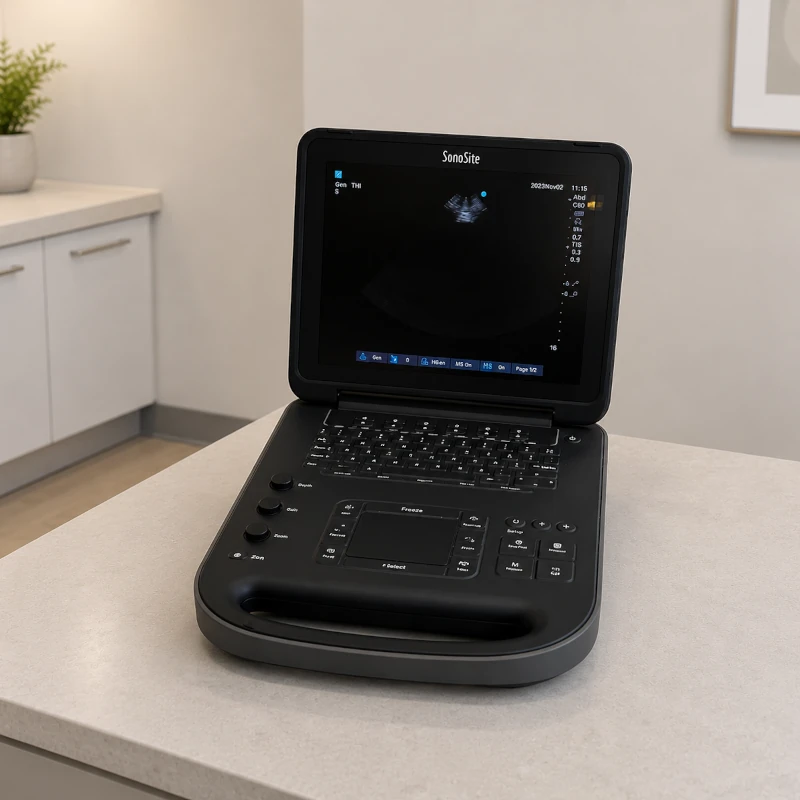
Field-ready systems like our Dramiński portable ultrasound units are designed with replaceable probes and components that suit demanding veterinary environments. Their modular design makes maintenance and long-term ownership more predictable. Medical-grade portable units such as our Honda ultrasound systems also emphasize durable hardware and accessible replacement parts to support long-term maintenance.
No matter the brand, prioritize compatibility and documented quality testing.
Conclusion
Ultrasound machines are complex systems made up of interdependent components. From the transducer and pulser to the beam former, receiver, and processor, each part directly affects image quality and diagnostic performance.
When you understand how these ultrasound machine parts work, you can operate equipment more confidently, plan maintenance proactively, and make better repair or replacement decisions. Choose quality components, confirm compatibility, and follow manufacturer guidelines to protect both equipment performance and patient outcomes.
Frequently Asked Questions (FAQ)
1. What is the most important part of an ultrasound machine?
The transducer (probe). It transmits and receives ultrasound signals, making it central to image formation.
2. How often should ultrasound probes be replaced?
There’s no fixed schedule. Inspect probes regularly and replace them if there’s physical damage, cable wear, element failure, or noticeable image deterioration.
3. Can I buy used or re-engineered parts safely?
Yes, if they come from a reputable supplier with clear testing, certification documentation, and model-specific compatibility.
4. What happens if a beam former or receiver fails?
Common signs include artifacts, signal dropouts, uneven brightness, excessive noise, or complete image loss. A qualified service technician should evaluate the system.
5. Are there different processors for 2D and 3D imaging?
Yes. Advanced systems may include dedicated processing for Doppler, 3D/4D reconstruction, elastography, and other specialized imaging functions.